> ## Documentation Index
> Fetch the complete documentation index at: https://docs.visitoai.com/llms.txt
> Use this file to discover all available pages before exploring further.
# User management
> Manage access and permissions for your team members.
With Visito AI, you can invite team members to manage AI settings and collaborate on responding to conversations.
## How to invite a team member
To invite new users, you must be the **account owner** or have an **Admin** role.
1. In your Visito app, click your **company name** in the top-right corner.
2. Go to Settings.
3. From the left-hand menu, select [**Team**](https://app.visitoai.com/settings/team)
#### Send an invitation
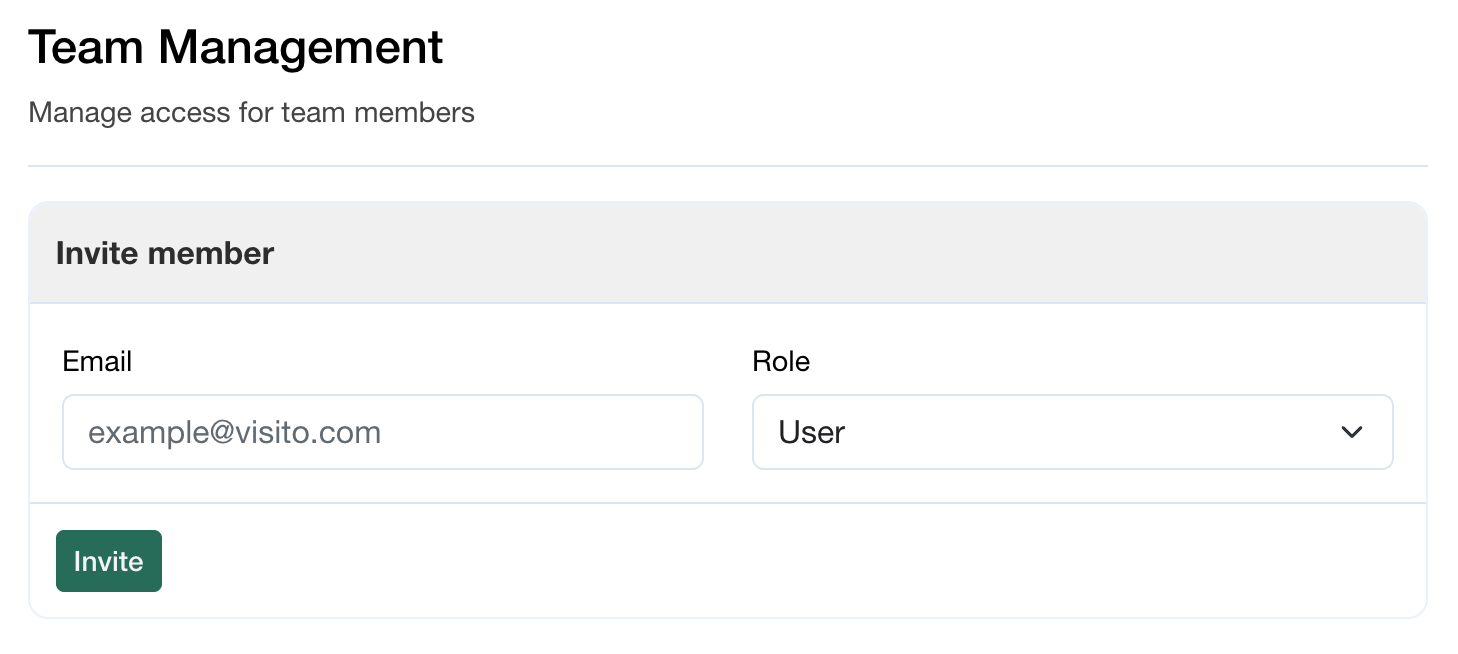 Once on the Team Settings page:
1. Enter the **email address** of the person you want to invite.
2. Select the appropriate **role** for the user.
3. Click **Invite**.
The invited user will receive an **email from Visito AI** with a link to accept the invitation.
#### Accepting the invitation
After clicking the invitation link, the user will:
1. Be redirected to a **Set Password** page.
2. Create their password.
3. Gain access to the Visito account and assigned team.
If you are invited to multiple Visito accounts, you must accept each invitation separately to access all assigned teams.
## Roles in Visito
Visito currently supports two user roles:
**Admin**
* Full access to all features and settings
**User**
* Limited access to **Inbox** and **Leads**
* Can manage conversations, including:
* Replying to chats
* Archiving chats
* Blocking contacts
* Resolving escalations
* Pause/resume AI replies.
* Assigning and reassigning conversations
* Cannot manage:
* Other users or roles
* Billing or subscription settings
* AI configuration or automation settings
## Manage roles
To manager user roles, you must be the **account owner** or have an **Admin** role.
1. In your Visito app, click your **company name** in the top-right corner.
2. Go to Settings.
3. From the left-hand menu, select [**Team**](https://app.visitoai.com/settings/team)
Once on the Team Settings page:
1. Enter the **email address** of the person you want to invite.
2. Select the appropriate **role** for the user.
3. Click **Invite**.
The invited user will receive an **email from Visito AI** with a link to accept the invitation.
#### Accepting the invitation
After clicking the invitation link, the user will:
1. Be redirected to a **Set Password** page.
2. Create their password.
3. Gain access to the Visito account and assigned team.
If you are invited to multiple Visito accounts, you must accept each invitation separately to access all assigned teams.
## Roles in Visito
Visito currently supports two user roles:
**Admin**
* Full access to all features and settings
**User**
* Limited access to **Inbox** and **Leads**
* Can manage conversations, including:
* Replying to chats
* Archiving chats
* Blocking contacts
* Resolving escalations
* Pause/resume AI replies.
* Assigning and reassigning conversations
* Cannot manage:
* Other users or roles
* Billing or subscription settings
* AI configuration or automation settings
## Manage roles
To manager user roles, you must be the **account owner** or have an **Admin** role.
1. In your Visito app, click your **company name** in the top-right corner.
2. Go to Settings.
3. From the left-hand menu, select [**Team**](https://app.visitoai.com/settings/team)
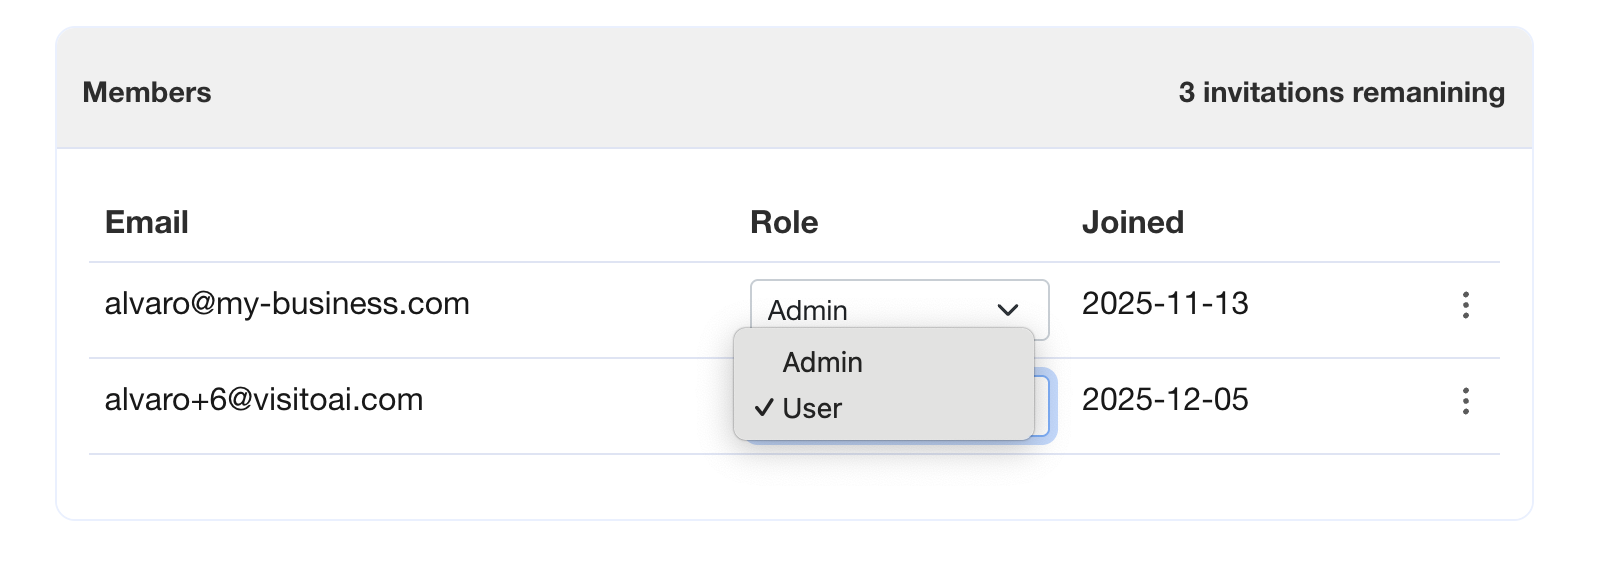 Once on the Team Settings page:
1. Go to the members panel.
2. Select the appropriate **role** for the user.
The new role will be applied immediately to the selected user.
## Removing a Team Member
Only **Admins** can remove users from a Visito account.
1. In your Visito app, click your **company name** in the top-right corner.
2. Go to Settings.
3. From the left-hand menu, select [**Team**](https://app.visitoai.com/settings/team)
Once on the Team Settings page:
1. Go to the members panel.
2. Select the appropriate **role** for the user.
The new role will be applied immediately to the selected user.
## Removing a Team Member
Only **Admins** can remove users from a Visito account.
1. In your Visito app, click your **company name** in the top-right corner.
2. Go to Settings.
3. From the left-hand menu, select [**Team**](https://app.visitoai.com/settings/team)
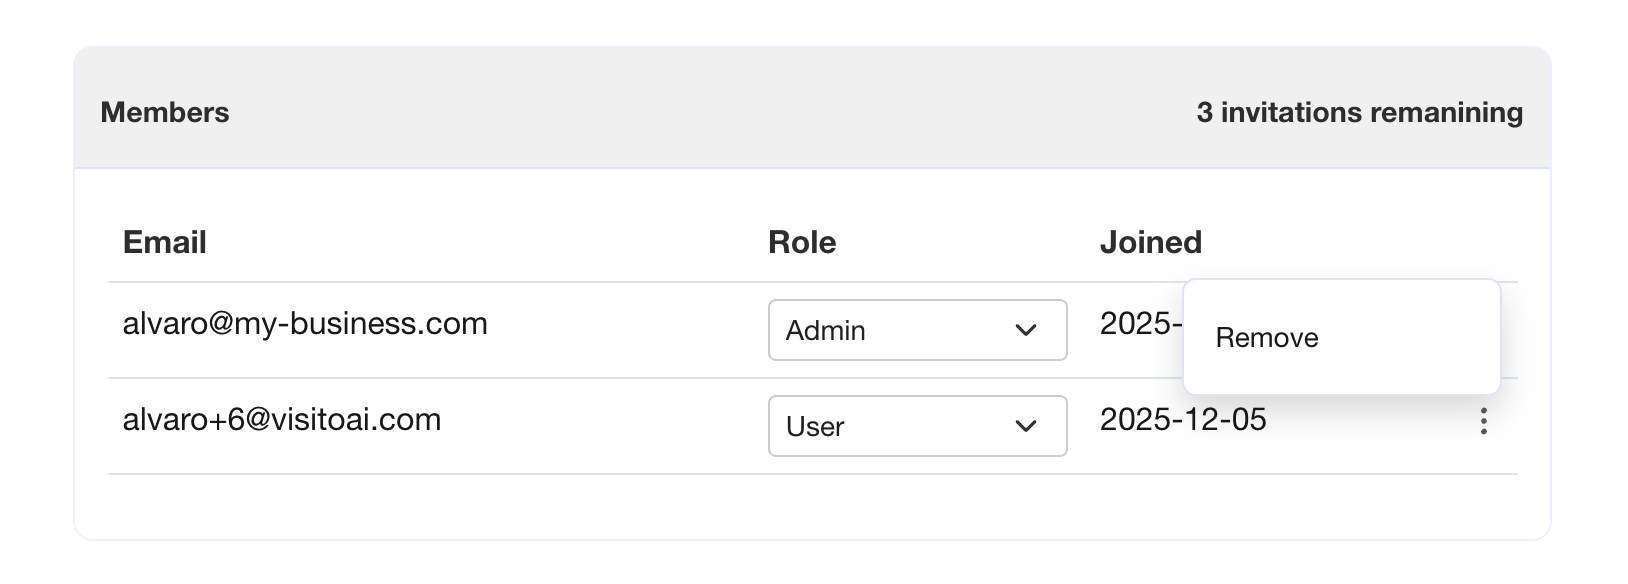 Once on the Team Settings page:
1. Go to the members panel.
2. Select **Remove**.
3. Confirm the action when prompted.
The user will be **immediately removed** from the account and will no longer have access to Visito.
Once on the Team Settings page:
1. Go to the members panel.
2. Select **Remove**.
3. Confirm the action when prompted.
The user will be **immediately removed** from the account and will no longer have access to Visito.