
Before you start
Confirm that:- You are signed in to the correct Visito workspace.
- The Facebook Page is active and messaging is enabled.
- Your Meta user can manage messages for the Page.
- You know which Pages belong to this workspace.
- Conflicting Page Inbox automations can be disabled before testing.
Connect
1
Open Channels
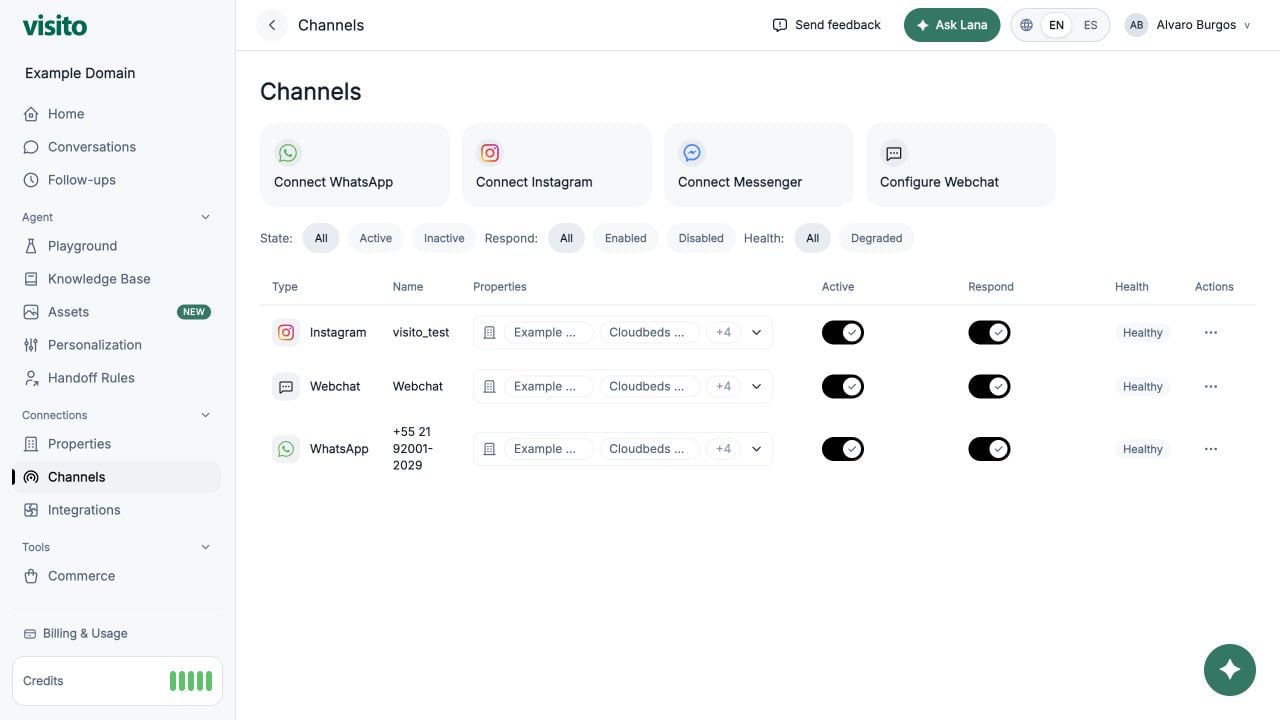
In Visito, go to Channels.
2
Start Messenger authorization
Select Connect Messenger and allow the Meta window to open.
3
Use the correct Meta identity
Confirm the signed-in Facebook user has messaging access to the intended Pages.
4
Approve access
Review the requested permissions and continue.
5
Select Pages
Choose one or more eligible Facebook Pages, then confirm the selection.
6
Return to Visito
Wait for the Channels table to refresh and confirm each selected Page appears.
7
Assign and activate
Assign the correct businesses and verify Active and Respond.
Disable conflicting automations
In Meta Business Suite, open the Page’s Inbox automations. Disable greetings, instant replies, or other responses that should not run alongside Visito.Verify the connection
- Send a new message to the Facebook Page from a separate personal account.
- Open Conversations in Visito and find the new thread.
- Confirm the correct business context.
- Verify the AI response or send a manual operator reply.
- Confirm the customer receives only one response.
If the Page is missing
- Confirm the Meta window used the intended Facebook login.
- Review the user’s Page access and messaging permissions.
- Confirm Page messaging is enabled.
- Close the authorization window and restart after access is corrected.
Meta readiness checklist
Verify browser, login, asset, and workspace prerequisites.
Troubleshoot Messenger
Diagnose missing Pages, incomplete callbacks, and message-flow problems.